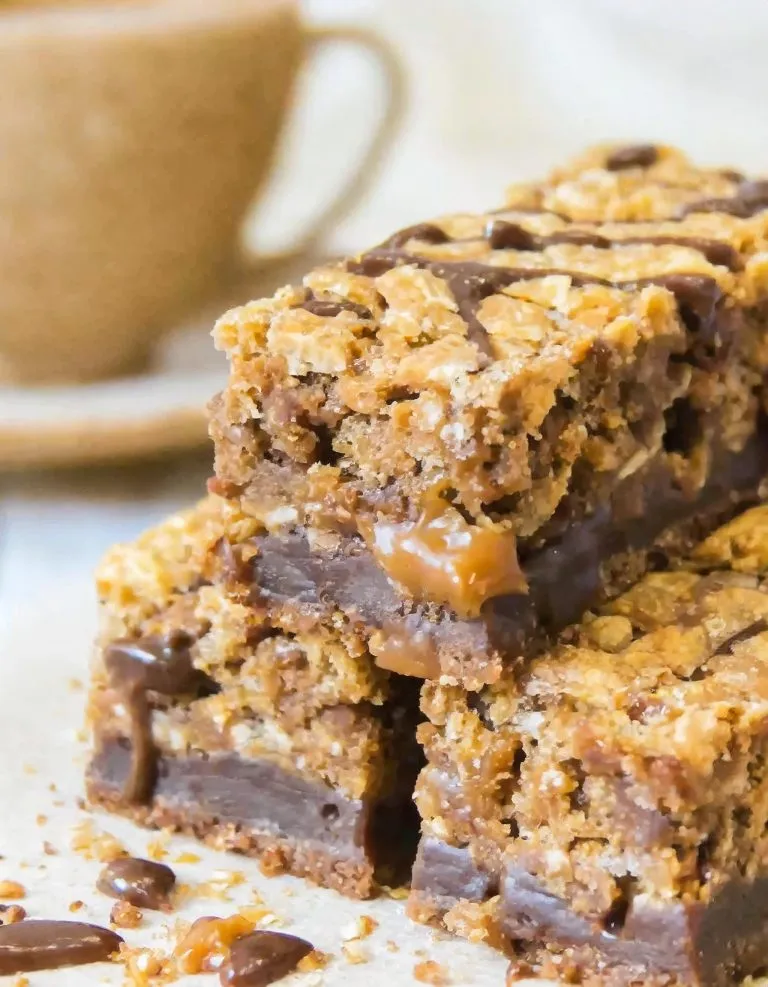
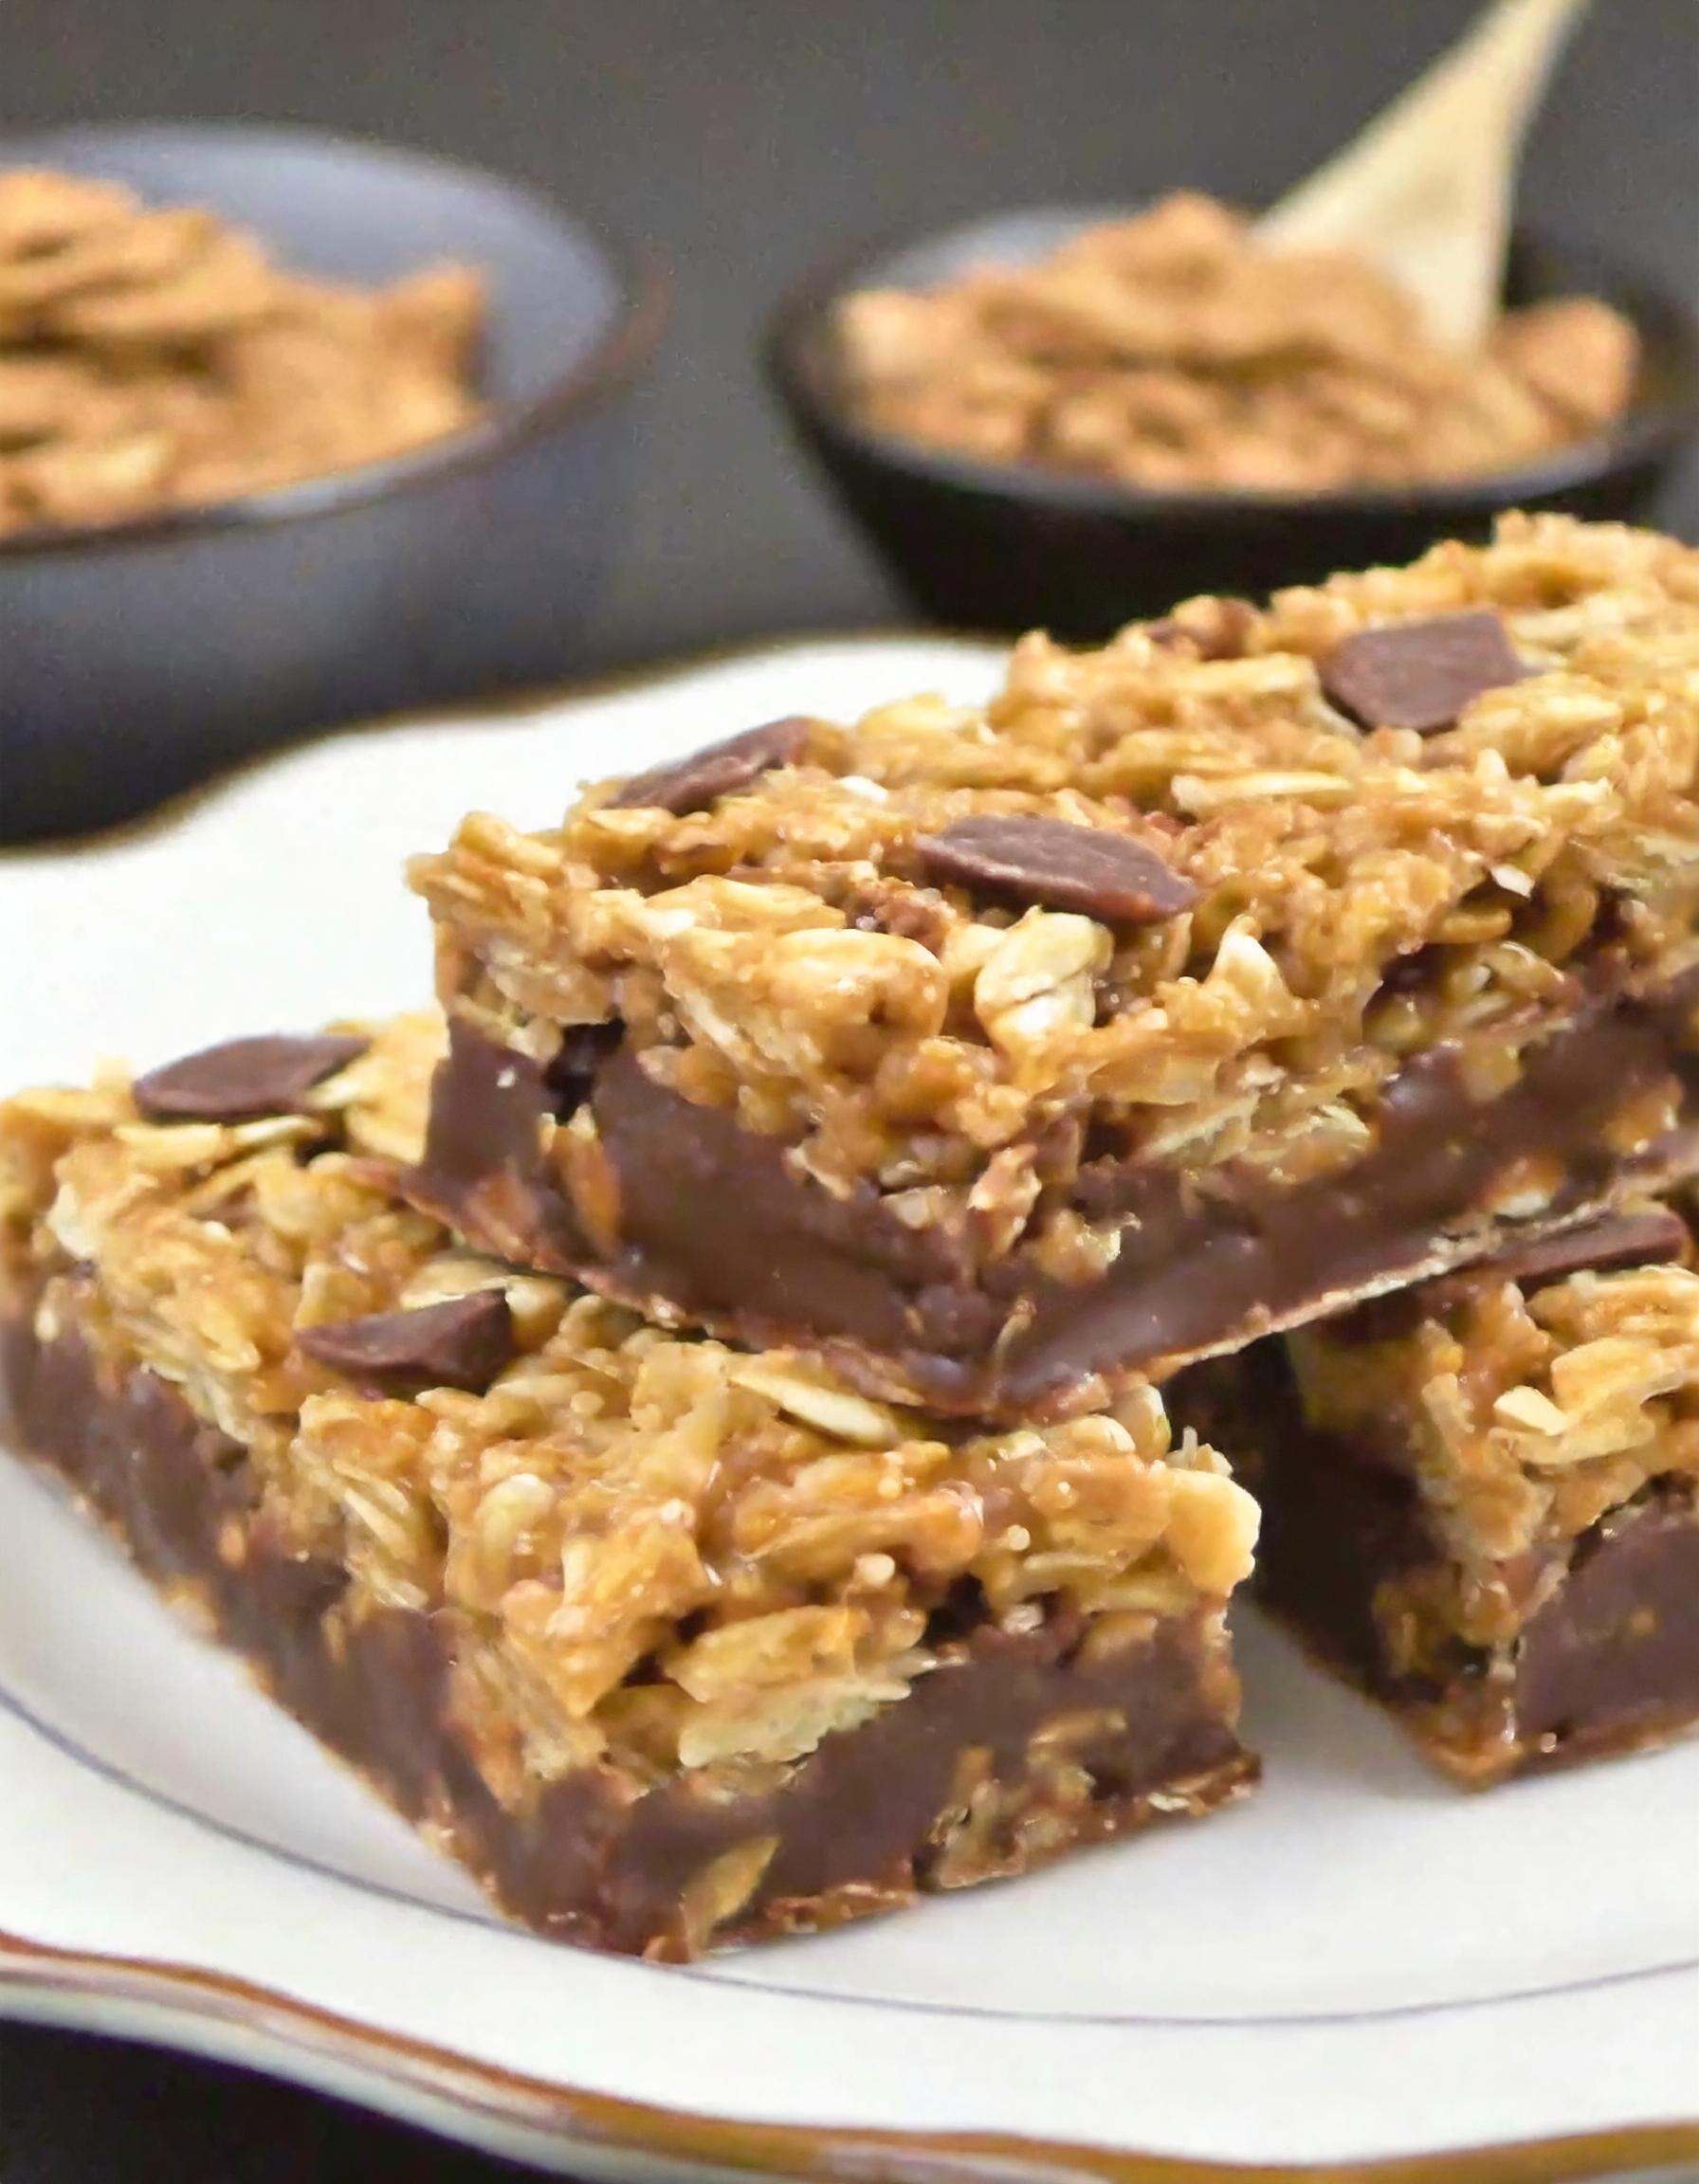
No Bake Chocolate Oat Bars
Here’s a simple and delightful recipe for No Bake Chocolate Oat Bars. These bars offer a delicious blend of creamy chocolate and hearty oats, requiring no oven time.

Perfect for a quick snack or a sweet treat, they come together in just a few steps, combining the richness of chocolate with the wholesomeness of oats. This no-fuss recipe is ideal for when you want something sweet without the hassle of baking.
Ingredients Needed for This Recipe
- 1 cup unsalted butter
- 1/2 cup brown sugar, packed
- 1 tsp vanilla extract
- 3 cups rolled oats
- 1 cup semi-sweet chocolate chips
- 1/2 cup peanut butter (smooth or crunchy)
Instructions for Making No Bake Chocolate Oat Bars
- Line an 8-inch square baking dish with parchment paper, leaving an overhang on the sides to easily lift out the bars once set.
- In a medium saucepan, melt the butter over medium heat. Add the brown sugar and vanilla, stirring until well combined. Stir in the oats and cook over low heat for 2-3 minutes until the mixture is well combined and slightly thickened.
- Press half of the oat mixture into the prepared baking dish, using a spatula or your hands to form a compact layer.
- In a small saucepan or in the microwave, melt the chocolate chips and peanut butter together until smooth, stirring frequently to prevent burning.
- Pour the chocolate mixture over the oat layer in the baking dish, spreading evenly.
- Crumble the remaining oat mixture over the chocolate layer, pressing lightly.
- Refrigerate for at least 2-4 hours, or until the chocolate is firm.
- Use the parchment paper overhang to lift the bars out of the dish. Cut into squares or bars.
Tips for Perfecting the Recipe
Quality Ingredients: The simplicity of no-bake recipes means the quality of each ingredient shines through. Opt for high-quality chocolate chips and natural peanut butter for the best flavor. Rolled oats give a better texture than instant oats, which can become too mushy.
Correct Oat Consistency: The texture of your bars heavily depends on how the oats are prepared. Cooking the oats with the butter and sugar mixture for just a few minutes softens them slightly, ensuring they’re chewy but not hard. Overcooking can lead to dry bars, so keep an eye on the stove.
Smooth Chocolate Layer: Achieving a smooth and evenly spread chocolate layer is crucial for both taste and presentation. If the chocolate and peanut butter mixture is too thick, gently warm it up to make spreading easier. A spatula can help smooth out the layer.
Firm Pressing: When pressing the first layer of oat mixture into the baking dish, press down firmly and evenly. This creates a solid base, preventing the bars from crumbling when cut. The same goes for the final oat layer; a gentle but firm press integrates the layers without squishing the soft chocolate middle.
Chilling Time: Patience is key! The bars need to be chilled until the chocolate layer is fully set, which might take longer than the minimum time suggested. If in a rush, placing them in the freezer can speed up the process, but watch closely to avoid freezing them solid.
Cutting Bars: For clean cuts, use a sharp knife and dip it in hot water between slices. This melts through the chocolate layer smoothly, preventing cracks or crumbles.
Serving Suggestions
Customizable Toppings: Before the chocolate sets, sprinkle toppings like chopped nuts, sea salt, shredded coconut, or mini chocolate chips for added texture and flavor.
Dessert Pairings: Serve these bars as a dessert complement alongside ice cream, whipped cream, or fresh berries for a mix of textures and tastes.
Event Themes: These bars can be adapted to fit various themes by using cookie cutters for shapes like hearts, stars, or holiday-related forms. A drizzle of white chocolate can add a festive touch.
Coffee or Tea Companion: The rich flavor of these chocolate oat bars pairs wonderfully with the bitterness of coffee or the subtlety of tea, making them a great snack for mid-morning or afternoon.
Storage Tips
Refrigeration: Store the bars in an airtight container in the refrigerator. They keep well for up to a week. The cold helps maintain their shape and prevents the chocolate layer from melting.
Freezing for Longevity: For longer storage, freeze the bars on a baking sheet before transferring to a freezer-safe bag or container. This prevents them from sticking together. They can last up to 3 months frozen. Thaw in the refrigerator before serving.
Layering: When stacking the bars in a container, place parchment paper between layers to prevent them from sticking together. This makes it easier to remove one bar at a time.
Avoiding Humidity: Keep the bars cool and dry. Humidity can make the oats soggy and cause the chocolate layer to become too soft.
Frequently Asked Questions
Can I use quick oats instead of rolled oats? Quick oats can be used in a pinch, but the texture of the bars might be less chewy. If using quick oats, reduce the cooking time slightly to prevent them from becoming too soft.
What can I use instead of peanut butter? Any nut butter, such as almond butter or cashew butter, can be used as a substitute for peanut butter. For a nut-free version, sunflower seed butter is an excellent alternative.
Can I make these bars vegan? Yes, to make these bars vegan, use plant-based butter and ensure that the chocolate chips are dairy-free. The peanut butter should naturally be vegan, but it’s always good to check labels.
How can I make these bars gluten-free? These bars can easily be made gluten-free by ensuring that the rolled oats are certified gluten-free. Cross-contamination can be an issue with oats, so this step is crucial for those with gluten sensitivities or celiac disease.
Why did my chocolate layer not set? If the chocolate layer remains too soft, it might be due to high room temperature or insufficient chilling time. Ensure the bars are chilled until completely set, and consider adjusting the chocolate to peanut butter ratio for a firmer set.
Can I add more ingredients to the bars? Absolutely! Consider adding ingredients like dried fruit, seeds, or different types of nuts to the oat mixture for additional flavor and texture.
No Bake Chocolate Oat Bars
Ingredients
- 1 cup unsalted butter
- 1/2 cup brown sugar packed
- 1 tsp vanilla extract
- 3 cups rolled oats
- 1 cup semi-sweet chocolate chips
- 1/2 cup peanut butter smooth or crunchy
Instructions
- Line an 8-inch square baking dish with parchment paper, leaving an overhang on the sides to easily lift out the bars once set.
- In a medium saucepan, melt the butter over medium heat. Add the brown sugar and vanilla, stirring until well combined. Stir in the oats and cook over low heat for 2-3 minutes until the mixture is well combined and slightly thickened.
- Press half of the oat mixture into the prepared baking dish, using a spatula or your hands to form a compact layer.
- In a small saucepan or in the microwave, melt the chocolate chips and peanut butter together until smooth, stirring frequently to prevent burning.
- Pour the chocolate mixture over the oat layer in the baking dish, spreading evenly.
- Crumble the remaining oat mixture over the chocolate layer, pressing lightly.
- Refrigerate for at least 2-4 hours, or until the chocolate is firm.
- Use the parchment paper overhang to lift the bars out of the dish. Cut into squares or bars.