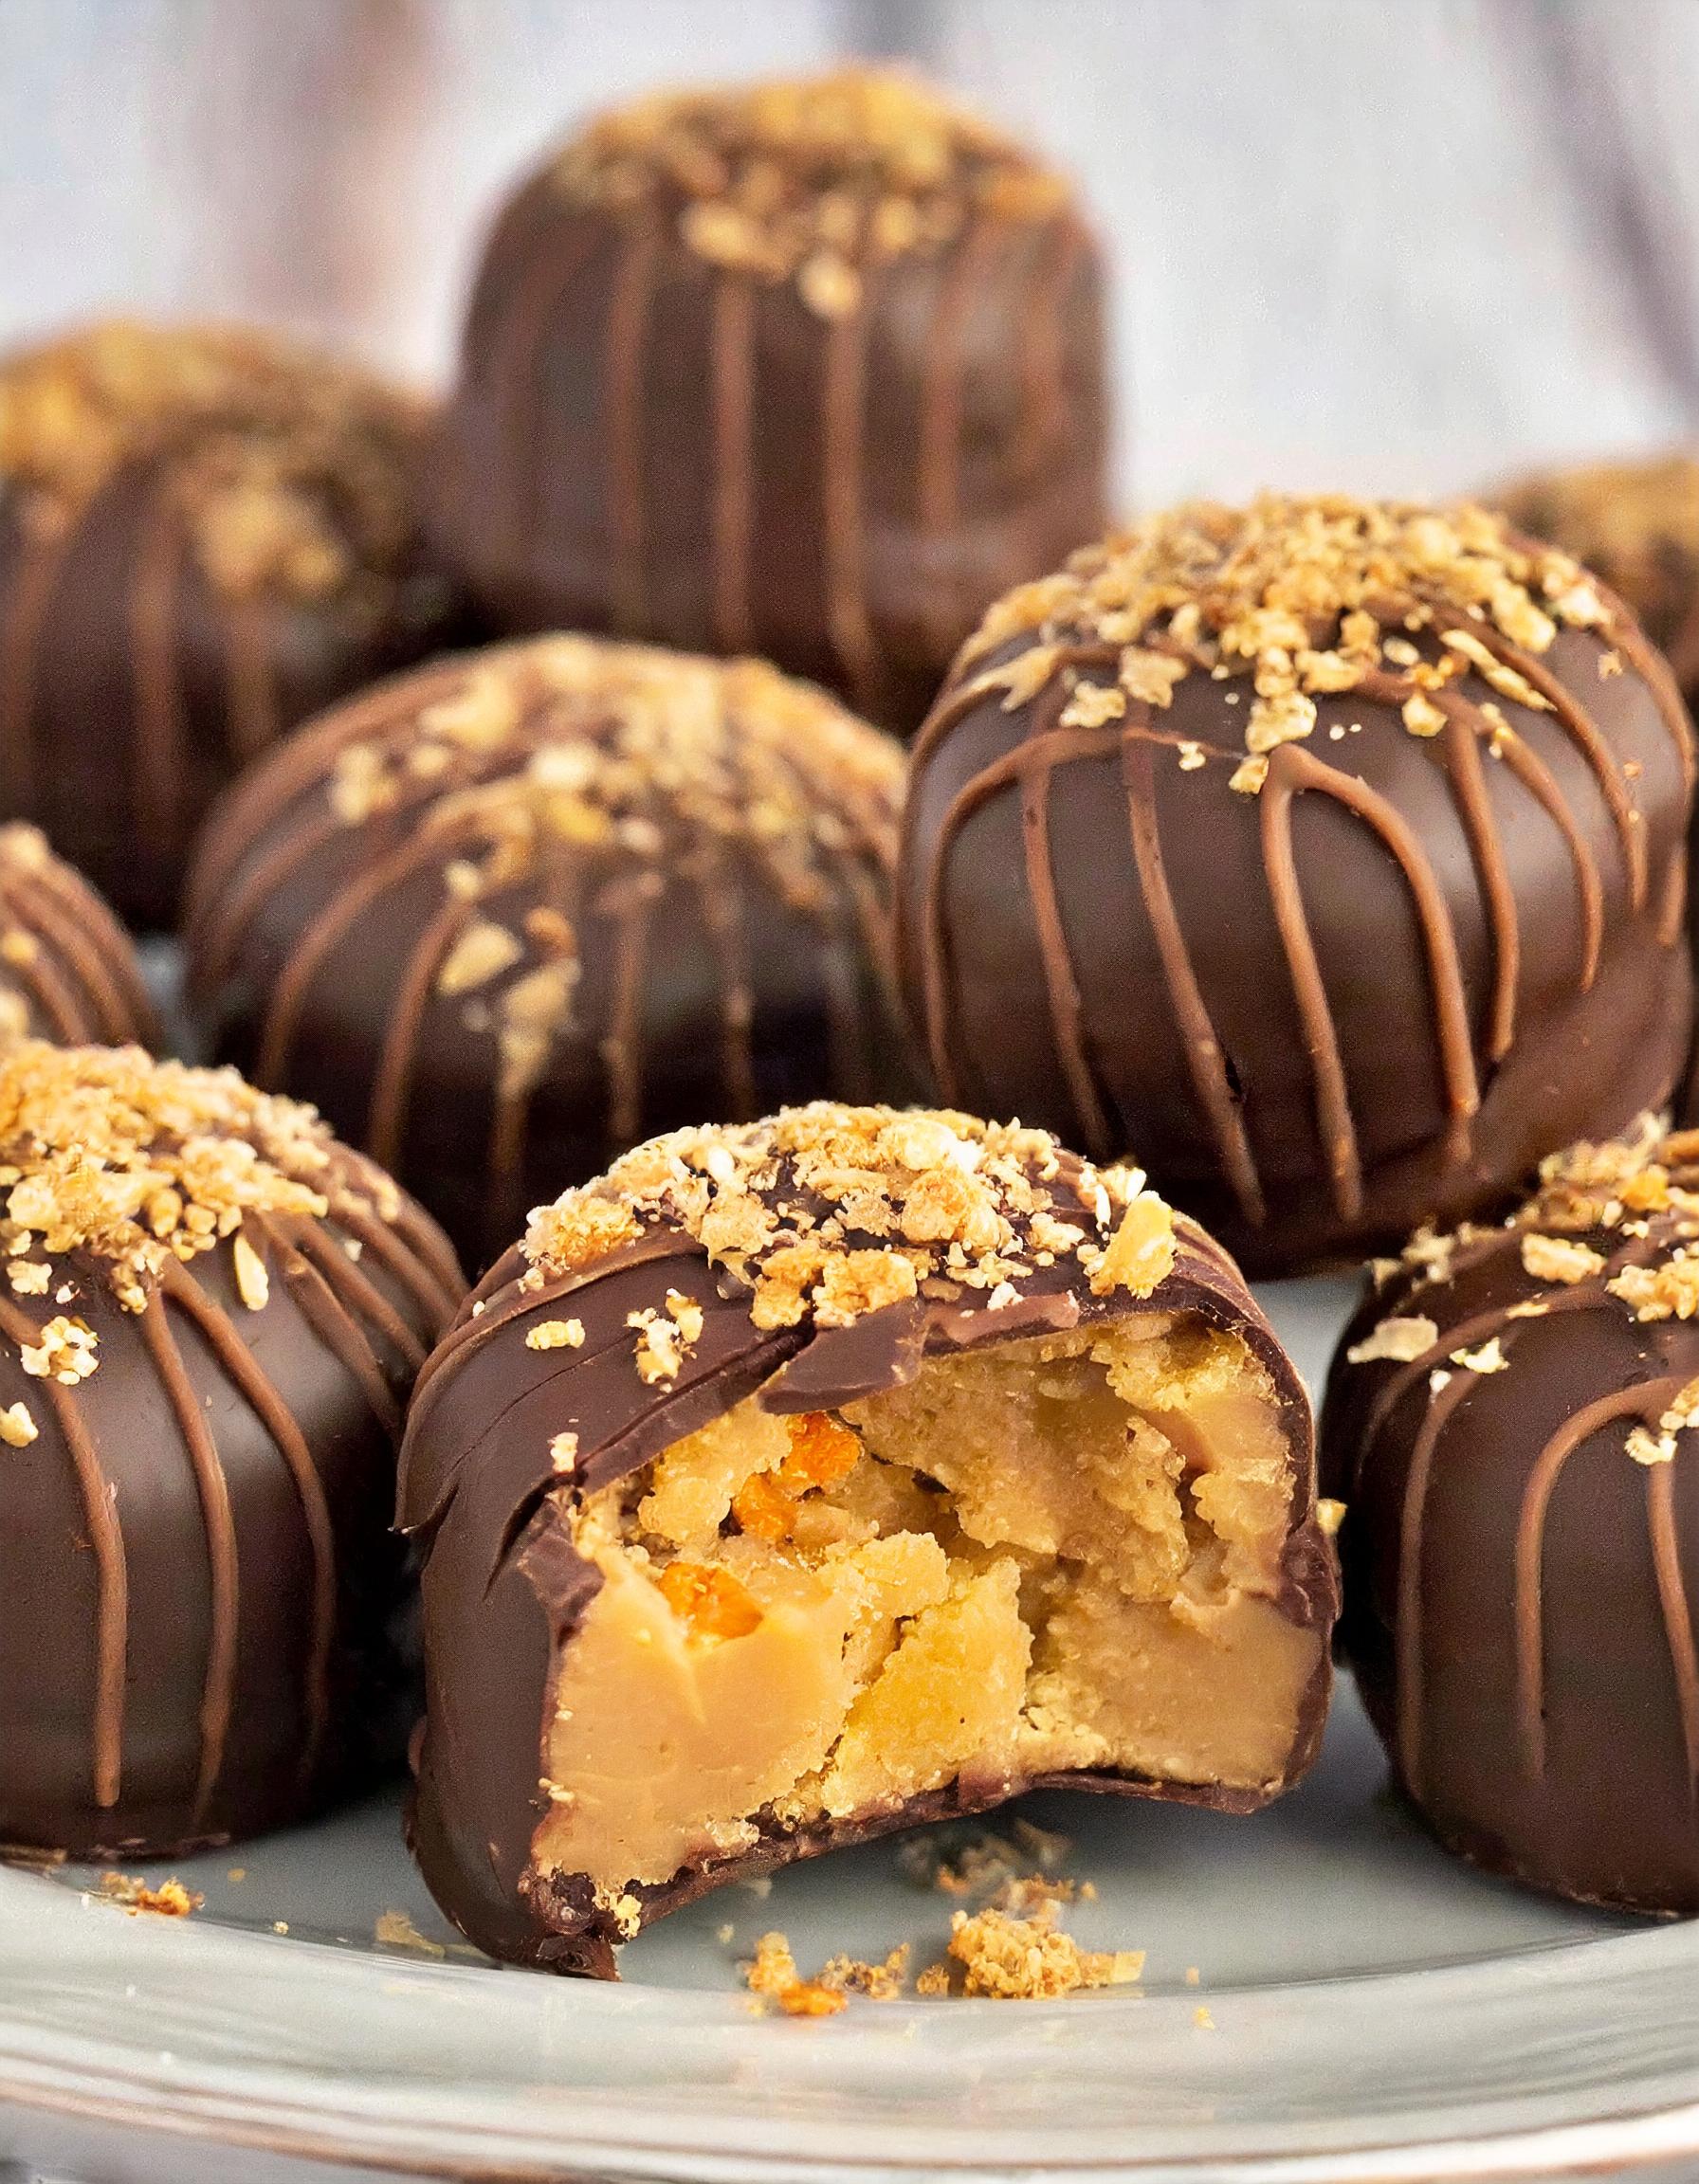
Butterfinger Balls
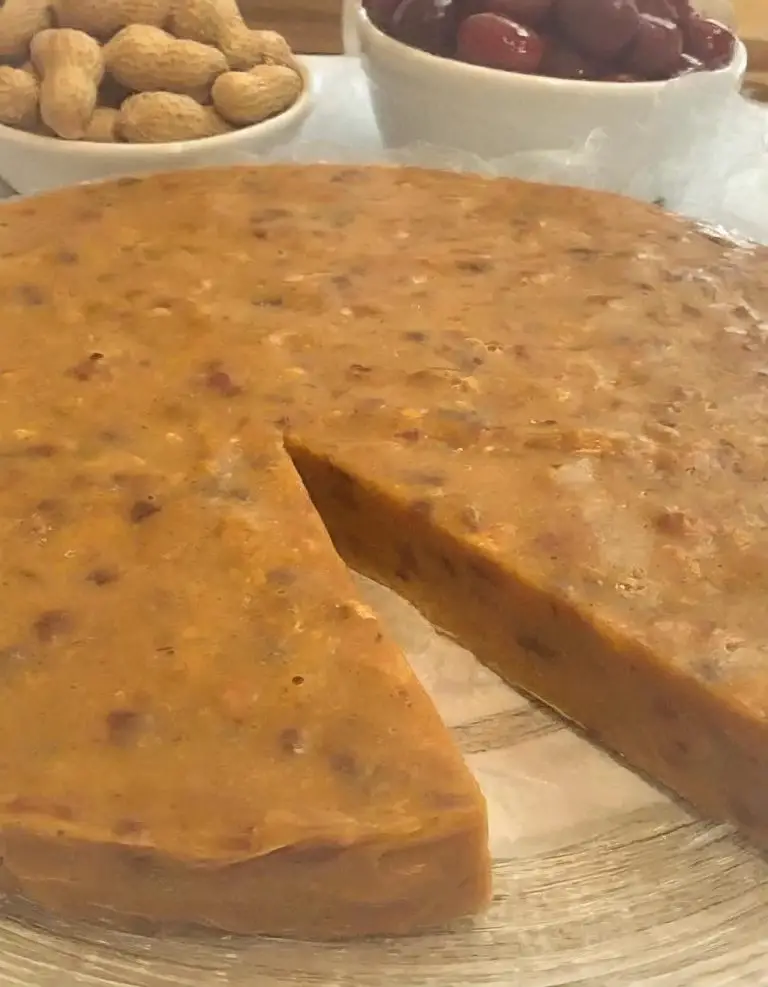
Are you ready for a mouthwatering treat? Look no further than these delectable Butterfinger Balls! This recipe takes the classic Butterfinger candy bar and transforms it into bite-sized balls of pure bliss. Each ball is packed with the irresistible combination of chocolatey goodness and crunchy peanut buttery texture.

With just a few simple ingredients and minimal effort, you can whip up a batch of these addictive treats that are sure to satisfy your sweet tooth. So grab your mixing bowl and get ready to experience a burst of flavor in every decadent bite!
Ingredients Needed for This Recipe
- 1 1/2 cups creamy peanut butter: The base of the balls, offering a smooth texture and rich flavor.
- 1 cup powdered sugar: To sweeten and help bind the mixture.
- 2 tablespoons unsalted butter, softened: Adds richness and helps to bind the mixture.
- 4 cups crushed cornflakes: Mimics the crunchy texture of a Butterfinger bar.
- 2 cups semi-sweet chocolate chips: For coating the balls, providing a classic chocolate exterior.
- 1 tablespoon vegetable shortening: Helps thin the chocolate for a smoother coating.
- Optional for decoration: Crushed peanuts or additional crushed cornflakes.
Instructions for Making Butterfinger Balls
- Prepare the Mixture: In a large bowl, combine the creamy peanut butter, powdered sugar, and softened unsalted butter. Mix until well combined. Gently fold in the crushed cornflakes until the mixture is uniform.
- Form the Balls: Scoop out teaspoon-sized portions of the mixture and roll them into balls. Place the balls on a baking sheet lined with parchment paper. If the mixture is too sticky, refrigerate it for about 20 minutes before rolling.
- Chill: Once all balls are formed, chill them in the refrigerator for at least 30 minutes to firm up. This makes them easier to dip in chocolate.
- Prepare the Chocolate Coating: Combine the semi-sweet chocolate chips and vegetable shortening in a microwave-safe bowl. Microwave in 30-second intervals, stirring in between, until the chocolate is completely melted and smooth.
- Dip the Balls: Using a fork or a dipping tool, dip each chilled ball into the melted chocolate to coat completely. Let the excess chocolate drip off before transferring back to the parchment paper.
- Decorate (Optional): If desired, immediately sprinkle the wet chocolate coating with crushed peanuts or additional crushed cornflakes for decoration.
- Chill Again: Allow the Butterfinger Balls to chill in the refrigerator for at least 1 hour, or until the chocolate coating is set.
- Serve: Once set, the Butterfinger Balls are ready to be served. Store any leftovers in an airtight container in the refrigerator.
Tips for Perfecting the Recipe
Quality Ingredients Matter: Use high-quality peanut butter and chocolate for the best taste and texture. The type of peanut butter (creamy or crunchy) can alter the texture, so stick with creamy for consistency.
Cornflake Crunch: For the perfect Butterfinger-like texture, ensure the cornflakes are crushed to the right size—not too fine, to maintain the crunch. A rolling pin or food processor can help achieve the ideal texture.
Chill Before Rolling: Chilling the mixture before rolling it into balls makes the process much easier and less sticky. If you’re in a hurry, a short freeze can speed up this step.
Even Chocolate Coating: To achieve a smooth and even chocolate coating, use a fork or a dipping tool and tap off the excess chocolate. This method ensures a neat finish and prevents the balls from sitting in a pool of chocolate.
Decoration Timing: If you choose to add decorative elements like crushed peanuts or cornflakes, do so immediately after dipping each ball in chocolate before the coating sets. This ensures that the toppings stick well.
Serving Suggestions
Butterfinger Balls are versatile and can be served in various ways, making them perfect for any occasion:
Party Favors: Place a few balls in small cellophane bags tied with a ribbon for a charming party favor.
Dessert Platters: Arrange them on a platter with other sweet treats such as cookies and brownies for a dessert buffet.
Gift Boxes: Layer them in a decorative box between sheets of parchment paper as a thoughtful homemade gift.
Snack Jars: Fill a clear jar with Butterfinger Balls for a visually appealing and accessible snack on the kitchen counter.
Holiday Treats: Customize the decoration with seasonal sprinkles or colors to fit special occasions like Halloween, Christmas, or Easter.
Frequently Asked Questions
Can I use natural peanut butter? Natural peanut butter can be used, but it may affect the texture and stability of the balls due to its oil separation. Stir it well before using, and consider adding a bit more powdered sugar if the mixture is too sticky.
How long do Butterfinger Balls last? When stored in an airtight container in the refrigerator, Butterfinger Balls can last up to 2 weeks. For longer storage, they can be frozen for up to 3 months, but ensure they are well wrapped to avoid freezer burn.
Can I make these with almond butter or other nut butters? Yes, almond butter or other nut butters can be used as a substitute for peanut butter. Keep in mind that the flavor will be different, and you may need to adjust the amount of powdered sugar based on the consistency of the nut butter.
Is there a vegan version of this recipe? To make a vegan version, use vegan chocolate chips and substitute the butter with a vegan butter alternative. Ensure the cornflakes and peanut butter are vegan-friendly (some brands may contain honey or other animal-derived ingredients).
How can I avoid the chocolate coating from cracking? To prevent the chocolate from cracking, make sure the balls are not too cold when dipping them into the chocolate. Letting them sit at room temperature for a few minutes before dipping can help. Additionally, adding vegetable shortening to the chocolate helps to create a smoother, more flexible coating.
Can I use milk chocolate instead of semi-sweet chocolate? Yes, milk chocolate can be used for a sweeter, creamier taste. However, it may be softer than semi-sweet chocolate, so consider chilling the coated balls for a bit longer to ensure they set properly.
How do I store Butterfinger Balls if I want to make them in advance? If making them in advance, store the balls in an airtight container in the refrigerator until ready to serve. For longer storage, freeze them on a baking sheet before transferring to a freezer-safe container or bag. Thaw in the refrigerator before serving.
Butterfinger Balls
Ingredients
- 1 1/2 cups creamy peanut butter: The base of the balls offering a smooth texture and rich flavor.
- 1 cup powdered sugar: To sweeten and help bind the mixture.
- 2 tablespoons unsalted butter softened: Adds richness and helps to bind the mixture.
- 4 cups crushed cornflakes: Mimics the crunchy texture of a Butterfinger bar.
- 2 cups semi-sweet chocolate chips: For coating the balls providing a classic chocolate exterior.
- 1 tablespoon vegetable shortening: Helps thin the chocolate for a smoother coating.
- Optional for decoration: Crushed peanuts or additional crushed cornflakes.
Instructions
- Prepare the Mixture: In a large bowl, combine the creamy peanut butter, powdered sugar, and softened unsalted butter. Mix until well combined. Gently fold in the crushed cornflakes until the mixture is uniform.
- Form the Balls: Scoop out teaspoon-sized portions of the mixture and roll them into balls. Place the balls on a baking sheet lined with parchment paper. If the mixture is too sticky, refrigerate it for about 20 minutes before rolling.
- Chill: Once all balls are formed, chill them in the refrigerator for at least 30 minutes to firm up. This makes them easier to dip in chocolate.
- Prepare the Chocolate Coating: Combine the semi-sweet chocolate chips and vegetable shortening in a microwave-safe bowl. Microwave in 30-second intervals, stirring in between, until the chocolate is completely melted and smooth.
- Dip the Balls: Using a fork or a dipping tool, dip each chilled ball into the melted chocolate to coat completely. Let the excess chocolate drip off before transferring back to the parchment paper.
- Decorate (Optional): If desired, immediately sprinkle the wet chocolate coating with crushed peanuts or additional crushed cornflakes for decoration.
- Chill Again: Allow the Butterfinger Balls to chill in the refrigerator for at least 1 hour, or until the chocolate coating is set.
- Serve: Once set, the Butterfinger Balls are ready to be served. Store any leftovers in an airtight container in the refrigerator.