Homemade Lemon Curd
Homemade lemon curd is a delightful and zesty spread that is perfect for adding a burst of citrusy flavor to a variety of dishes. I love making this tangy treat in my kitchen because it’s incredibly easy to prepare with just a few simple ingredients like lemons, sugar, eggs, and butter.

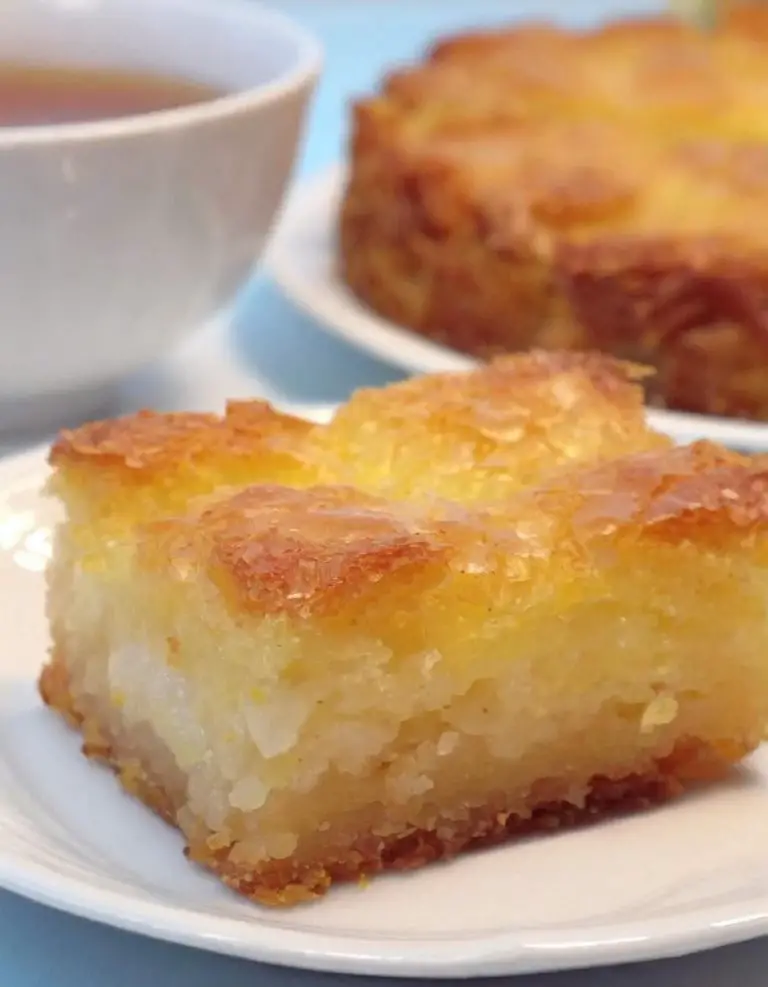
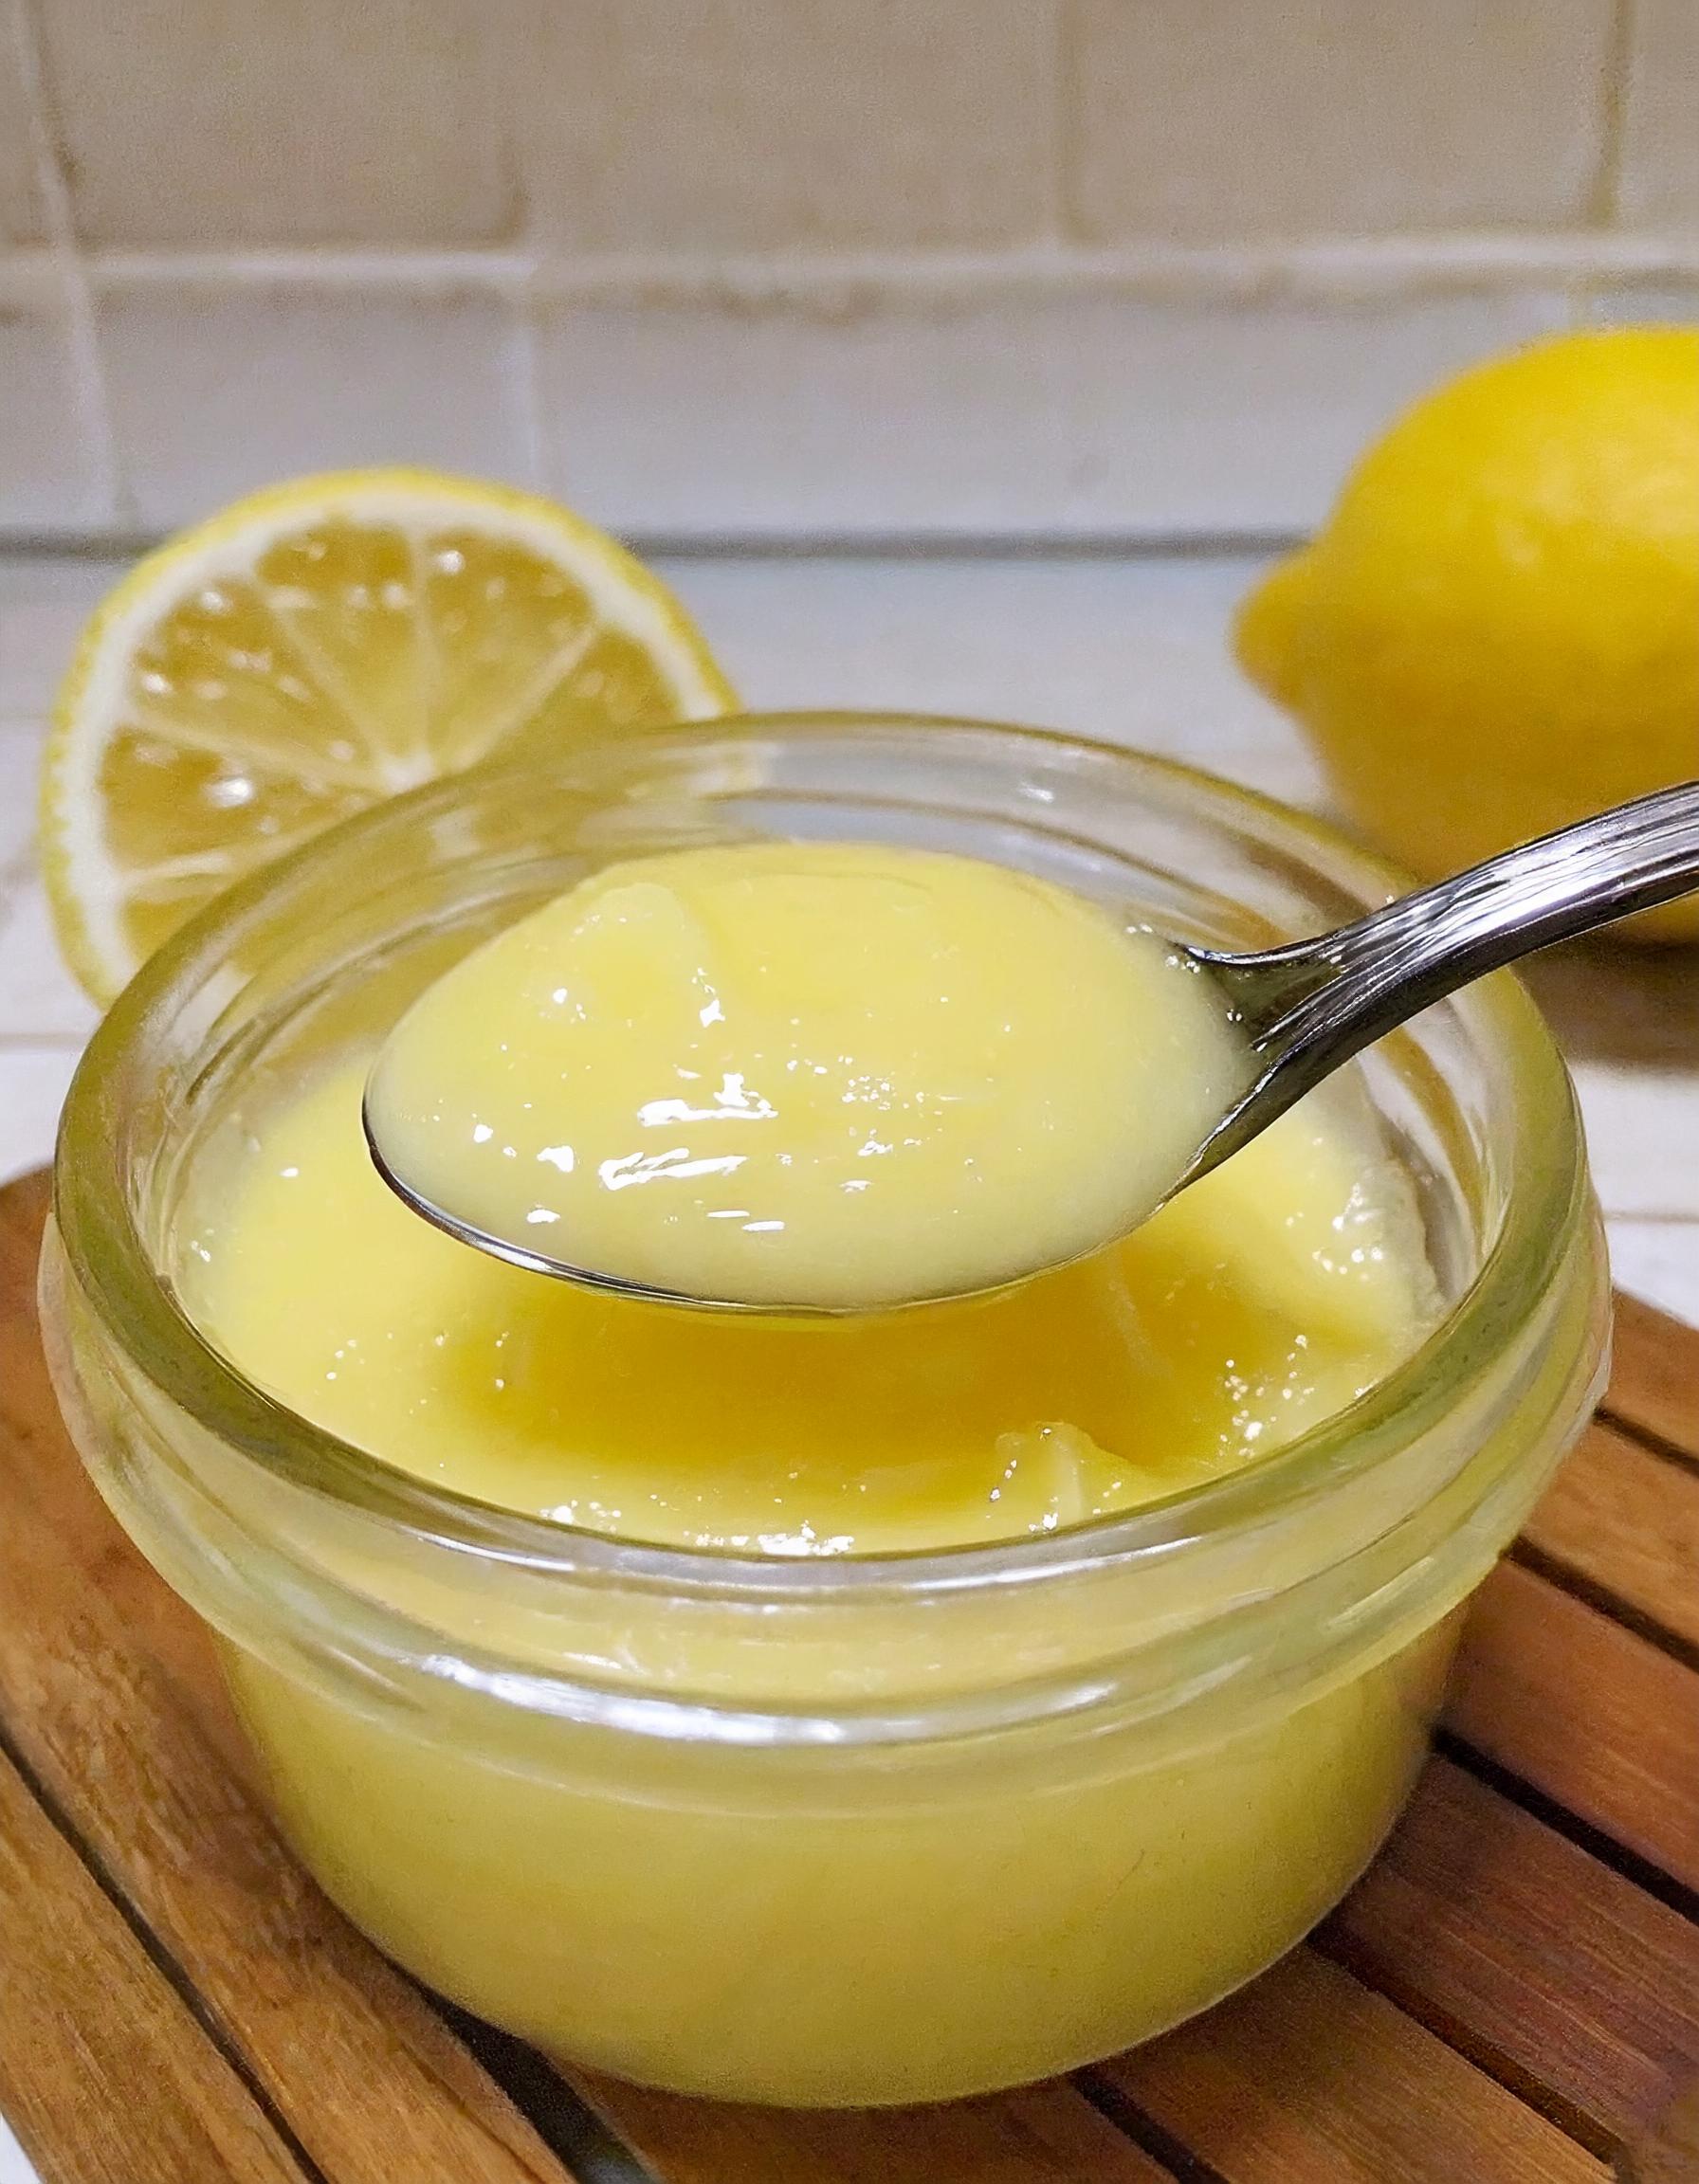
The vibrant yellow color and silky smooth texture of lemon curd make it versatile for use as a topping for scones, pancakes, or even as a filling for cakes and tarts. The fresh and tangy taste of homemade lemon curd is simply irresistible and always leaves me craving for more!
Ingredients Needed for This Recipe
- 1 cup (200g) granulated sugar
- 4 large eggs
- 2/3 cup (160ml) fresh lemon juice (about 4-5 lemons)
- Zest of 2 lemons
- 1/2 cup (115g) unsalted butter, cut into pieces
- A pinch of salt
Instructions for Making Homemade Lemon Curd
- Prepare Ingredients: Before you start, ensure all ingredients are measured and ready to go. This will help streamline the cooking process.
- Zest and Juice Lemons: Wash the lemons thoroughly before zesting them to avoid any wax or dirt in your curd. After zesting, juice the lemons until you have the required amount of juice.
- Mix Eggs and Sugar: In a medium-sized mixing bowl, whisk together the granulated sugar and eggs until well combined and slightly pale in color.
- Cook the Mixture: Transfer the egg and sugar mixture to a saucepan, then add the lemon zest, lemon juice, and a pinch of salt. Cook over medium-low heat, stirring constantly with a wooden spoon or a heatproof spatula, to prevent the eggs from scrambling.
- Add Butter: When the mixture begins to thicken (enough to coat the back of your spoon or spatula), which should take about 10 minutes, remove the saucepan from the heat. Add the pieces of butter, stirring well after each addition until the butter is completely melted and the mixture is smooth.
- Strain: To ensure your lemon curd is perfectly smooth, strain it through a fine-mesh sieve into a clean bowl or jar. This step removes any bits of cooked egg or lemon zest.
- Cool and Thicken: Cover the lemon curd with a piece of plastic wrap pressed directly onto the surface to prevent a skin from forming. Let it cool to room temperature. The lemon curd will continue to thicken as it cools.
- Refrigerate: Once cooled, transfer the lemon curd to the refrigerator. Chill for at least a few hours before using. The lemon curd will thicken further and develop its flavors while chilling.
- Serve and Enjoy: Homemade lemon curd can be enjoyed in various ways. Spread it on toast, swirl it into yogurt, use it as a filling for cakes and tarts, or simply enjoy it by the spoonful.
Tips for Perfecting the Recipe
Use Fresh Lemons: For the best flavor, use fresh lemons rather than bottled lemon juice. The zest adds a bright, citrusy aroma that bottled juice simply can’t match.
Control the Heat: Cooking the lemon curd over medium-low heat is crucial. Too high heat can cause the eggs to scramble, while too low heat will take too long and may not thicken the mixture properly. Find a balance to ensure smooth cooking.
Constant Stirring: Keep the mixture moving by stirring continuously. This prevents any part of the curd from overheating and ensures an even texture.
Strain for Smoothness: Straining the cooked curd through a fine-mesh sieve is an extra step, but it’s worth it. It catches any bits of cooked egg and ensures your lemon curd is perfectly smooth.
Adjust Sugar to Taste: Depending on your preference for sweetness, you can adjust the amount of sugar. Start with the recommended amount and taste as you go, remembering that the curd will taste slightly sweeter once cooled.
Chill Thoroughly: Lemon curd thickens as it cools, so don’t be tempted to use it too soon. Let it chill in the refrigerator for a few hours, or overnight, for the best consistency.
Use Quality Butter: Since there are so few ingredients, each one plays a significant role. Using high-quality butter can make a difference in the richness and smoothness of your lemon curd.
Be Patient: Making lemon curd is a process that shouldn’t be rushed. Enjoy the process, and the result will be worth the wait.
Serving Suggestions
Lemon curd is incredibly versatile, making it a delightful addition to many dishes. Here are some serving suggestions to inspire you:
As a Spread: Elevate your morning toast or scones by spreading them with a layer of tangy lemon curd. It also pairs beautifully with English muffins or croissants.
In Desserts: Use lemon curd as a filling for cakes, cupcakes, or sandwich cookies. It can also be layered in trifles or used as a topping for cheesecakes.
With Yogurt or Oatmeal: Swirl lemon curd into plain yogurt or oatmeal for a burst of flavor. It’s a simple way to add sweetness and tang to your breakfast.
In Parfaits: Layer lemon curd with fresh berries and whipped cream for a quick and elegant dessert.
As a Pie Filling: Lemon meringue pie is just the beginning. Try lemon curd in tart shells or as a filling for pre-baked pie crusts, topped with fresh fruit or meringue.
With Ice Cream: A dollop of lemon curd on top of vanilla ice cream transforms a simple dessert into something special.
As a Gift: Homemade lemon curd, beautifully jarred and labeled, makes a thoughtful and delicious gift for foodies.
Frequently Asked Questions
Can I use other citrus fruits? Yes! While lemon is classic, this recipe can be adapted for other citrus fruits like limes, oranges, or grapefruits. Adjust the sugar accordingly, as some fruits are sweeter or more tart than lemons.
Why did my lemon curd turn out runny? There are a few reasons why lemon curd might not set properly. It could be due to not cooking it long enough, not using enough eggs, or not allowing it enough time to chill and set in the refrigerator. Make sure to follow the recipe closely and give it sufficient chilling time.
Can lemon curd be frozen? Yes, lemon curd can be frozen for up to a year. Freeze it in an airtight container or a heavy-duty freezer bag. Thaw it overnight in the refrigerator before using. Note that the texture might be slightly less silky after freezing, but it will still be delicious.
Is lemon curd gluten-free? Yes, traditional lemon curd recipes, including this one, are gluten-free as they don’t contain any flour or wheat products. However, always check the labels of your ingredients to ensure they haven’t been processed in a facility that handles gluten-containing products if you’re serving it to someone with celiac disease or a gluten sensitivity.
How can I thicken lemon curd that’s too runny? If your lemon curd hasn’t thickened after cooling, you can try cooking it a bit longer over low heat, being careful not to let it boil. Constant stirring and patience are key. If it’s still too runny, mixing a cornstarch slurry (1 teaspoon cornstarch dissolved in 2 teaspoons cold water) and whisking it into the curd can help. Heat until it thickens, but don’t overdo it to avoid affecting the flavor and texture.
Homemade Lemon Curd
Ingredients
- 1 cup 200g granulated sugar
- 4 large eggs
- 2/3 cup 160ml fresh lemon juice (about 4-5 lemons)
- Zest of 2 lemons
- 1/2 cup 115g unsalted butter, cut into pieces
- A pinch of salt
Instructions
- Prepare Ingredients: Before you start, ensure all ingredients are measured and ready to go. This will help streamline the cooking process.
- Zest and Juice Lemons: Wash the lemons thoroughly before zesting them to avoid any wax or dirt in your curd. After zesting, juice the lemons until you have the required amount of juice.
- Mix Eggs and Sugar: In a medium-sized mixing bowl, whisk together the granulated sugar and eggs until well combined and slightly pale in color.
- Cook the Mixture: Transfer the egg and sugar mixture to a saucepan, then add the lemon zest, lemon juice, and a pinch of salt. Cook over medium-low heat, stirring constantly with a wooden spoon or a heatproof spatula, to prevent the eggs from scrambling.
- Add Butter: When the mixture begins to thicken (enough to coat the back of your spoon or spatula), which should take about 10 minutes, remove the saucepan from the heat. Add the pieces of butter, stirring well after each addition until the butter is completely melted and the mixture is smooth.
- Strain: To ensure your lemon curd is perfectly smooth, strain it through a fine-mesh sieve into a clean bowl or jar. This step removes any bits of cooked egg or lemon zest.
- Cool and Thicken: Cover the lemon curd with a piece of plastic wrap pressed directly onto the surface to prevent a skin from forming. Let it cool to room temperature. The lemon curd will continue to thicken as it cools.
- Refrigerate: Once cooled, transfer the lemon curd to the refrigerator. Chill for at least a few hours before using. The lemon curd will thicken further and develop its flavors while chilling.
- Serve and Enjoy: Homemade lemon curd can be enjoyed in various ways. Spread it on toast, swirl it into yogurt, use it as a filling for cakes and tarts, or simply enjoy it by the spoonful.