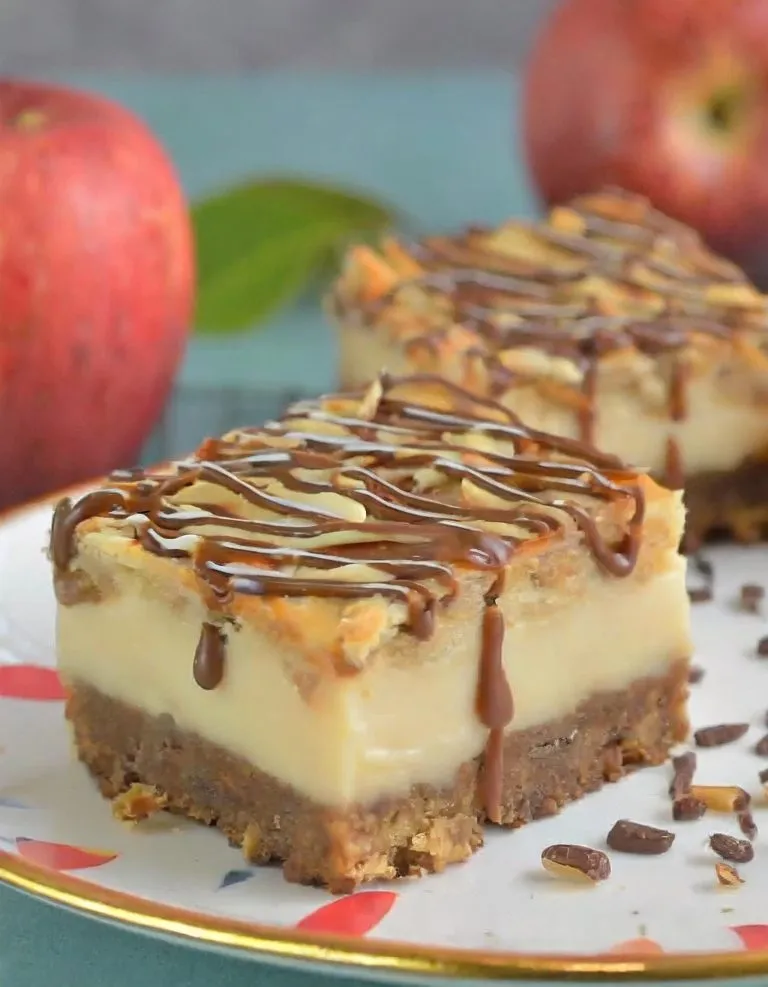
Peanut Butter Lunch Lady Cookie Bars
These Peanut Butter Lunch Lady Cookie bars are the perfect blend of sweet and salty, with a delightful peanut butter flavor that will have your taste buds dancing. The recipe is fairly straightforward and easy to follow, making it a great option for both beginner and experienced bakers. The bars are soft and chewy, with a slight crumble that is simply irresistible.
They’re the perfect treat for any occasion, whether you want to satisfy your sweet tooth or impress your friends and family with a scrumptious homemade dessert. Trust me, once you try these Peanut Butter Lunch Lady Cookie Bars, you’ll be hooked!
Ingredients Needed for This Recipe
For the Cookie Bars:
- 1 cup (2 sticks) unsalted butter, at room temperature
- 1 cup granulated sugar
- 1 cup packed light brown sugar
- 2 large eggs
- 2 teaspoons vanilla extract
- 1 cup creamy peanut butter
- 2 cups all-purpose flour
- 1 teaspoon baking soda
- 1/2 teaspoon salt
- 2 cups quick-cooking oats
For the Chocolate Frosting:
- 1/2 cup (1 stick) unsalted butter
- 1/4 cup milk
- 1/4 cup unsweetened cocoa powder
- 3 cups powdered sugar
- 1 teaspoon vanilla extract
Instructions for Making Peanut Butter Lunch Lady Cookie Bars
- Preheat Oven and Prepare Pan: Preheat your oven to 350°F (175°C). Grease a 9×13 inch baking pan or line it with parchment paper, leaving some overhang for easy removal.
- Cream Butter and Sugars: In a large mixing bowl, cream together the room temperature butter, granulated sugar, and brown sugar until light and fluffy. This will take about 2-3 minutes with an electric mixer on medium speed.
- Add Wet Ingredients: Beat in the eggs, one at a time, ensuring each is fully incorporated before adding the next. Stir in the vanilla extract and creamy peanut butter until the mixture is smooth and well combined.
- Combine Dry Ingredients: In a separate bowl, whisk together the all-purpose flour, baking soda, and salt. Gradually add the dry ingredients to the wet mixture, mixing just until combined. Stir in the quick-cooking oats.
- Spread Batter in Pan: Transfer the batter to the prepared baking pan, spreading it out into an even layer. The batter will be thick, so use a spatula or your hands to help spread it evenly.
- Bake: Bake in the preheated oven for 20-25 minutes, or until the edges are lightly golden and a toothpick inserted into the center comes out clean. Do not overbake; the bars should be soft.
- Prepare the Chocolate Frosting: While the bars are baking, prepare the frosting. In a medium saucepan, melt the butter over low heat. Stir in the milk and cocoa powder until smooth. Remove from heat and gradually whisk in the powdered sugar and vanilla extract until smooth and spreadable. If the frosting is too thick, add a little more milk, a teaspoon at a time, until you reach the desired consistency.
- Frost the Bars: Once the cookie bars are done, allow them to cool in the pan for about 10 minutes. Then, spread the chocolate frosting over the warm bars. The warmth from the bars will make it easier to spread the frosting evenly.
- Cool and Serve: Allow the frosted cookie bars to cool completely in the pan on a wire rack. Once cooled, use the overhanging parchment paper to lift the bars out of the pan and cut them into squares or rectangles.
Enjoy these Peanut Butter Lunch Lady Cookie Bars as a delightful treat that’ll take you back to your school days. They’re perfect for sharing, though you might find them hard to part with once you’ve had a taste!
Tips for Perfecting the Recipe
Room Temperature Ingredients: For the best texture, ensure your butter and eggs are at room temperature before starting. This makes it easier to cream the butter and sugars together to a light and fluffy consistency, which is crucial for achieving the right texture in the bars.
Quality Peanut Butter: The type of peanut butter you use will significantly affect the flavor and texture of your cookie bars. Opt for a creamy, commercial brand for consistency. Natural peanut butter can be used but be aware it may make the batter more oily and affect the bars’ structure.
Don’t Overmix the Dough: Once you add the dry ingredients to the wet, mix just until combined. Overmixing can develop the gluten in the flour, leading to tough cookie bars.
Bake Until Just Done: Overbaking is the nemesis of moist, chewy cookie bars. Keep an eye on the oven and check the bars towards the end of the recommended baking time. They’re done when the edges start to turn golden and a toothpick inserted into the center comes out clean or with a few moist crumbs.
Cooling Time: Allow the cookie bars to cool in the pan for about 10 minutes before spreading the frosting. This slight cooling makes the bars easier to frost and helps the frosting set without melting away but ensures they are still warm enough to help spread the frosting evenly.
Customizing the Frosting: If you prefer a thinner frosting layer, you can reduce the frosting recipe by half. For those who love a rich, thick layer of frosting, follow the recipe as is. Feel free to adjust the cocoa powder for a darker or lighter chocolate flavor according to your preference.
Serving Suggestions
Cutting into Bars: For clean cuts, use a sharp knife and wipe it clean with a damp cloth between cuts. This helps to ensure neat, bakery-style squares or rectangles.
Serving Size: These cookie bars are rich and decadent. Cutting them into smaller squares can make them more manageable, especially for children or as part of a larger dessert spread.
Pair with Milk or Coffee: The classic combination of milk and cookies is always a hit. Serve these peanut butter cookie bars with a glass of cold milk or a cup of hot coffee for adults. The rich flavors of the bars complement both beverages beautifully.
Dessert Platter: Create a dessert platter by adding a variety of treats alongside the cookie bars. Include items like fresh fruit, nuts, and other bite-sized sweets to offer something for everyone.
Ice Cream Sandwiches: For a fun and indulgent treat, use two cookie bars to sandwich a scoop of vanilla or chocolate ice cream. Freeze the sandwiches for an hour before serving for a delightful summer dessert.
Frequently Asked Questions
Can I make these cookie bars gluten-free? Yes, you can substitute the all-purpose flour with a gluten-free flour blend designed for baking. Be sure to mix well to avoid any gritty texture from the flour.
How do I store these cookie bars? Store the cookie bars in an airtight container at room temperature for up to 3 days. For longer storage, you can refrigerate them for up to a week. Just be sure to let them come to room temperature before serving for the best flavor and texture.
Can I freeze these cookie bars? Absolutely. Wrap the bars individually in plastic wrap and then place them in a zip-top freezer bag. They can be frozen for up to 3 months. Thaw overnight in the refrigerator or at room temperature for a few hours before serving.
Can I use chunky peanut butter instead of creamy? Yes, chunky peanut butter can be used for a bit of extra texture. However, the overall texture of the bars might be slightly different, with bits of peanuts throughout the bars.
What can I use instead of the chocolate frosting? If you’re not a fan of chocolate or just want to try something different, a vanilla or peanut butter frosting can be a delicious alternative. Simply omit the cocoa powder and adjust the powdered sugar in the frosting recipe to achieve the desired sweetness and consistency.
Why did my cookie bars come out dry? Dry cookie bars are usually the result of overbaking or measuring the flour incorrectly. Be sure to spoon and level your flour when measuring, rather than scooping it directly from the container, which can lead to using too much. Also, keep a close eye on the baking time and check the bars towards the lower end of the recommended range.
Can I add chocolate chips to the batter? Yes, adding chocolate chips can introduce an additional layer of chocolatey goodness. Stir in up to 1 cup of chocolate chips to the batter before spreading it into the baking pan. You can use semi-sweet, milk chocolate, or dark chocolate chips depending on your preference.
Peanut Butter Lunch Lady Cookie Bars

Ingredients
For the Cookie Bars:
- 1 cup 2 sticks unsalted butter, at room temperature
- 1 cup granulated sugar
- 1 cup packed light brown sugar
- 2 large eggs
- 2 teaspoons vanilla extract
- 1 cup creamy peanut butter
- 2 cups all-purpose flour
- 1 teaspoon baking soda
- 1/2 teaspoon salt
- 2 cups quick-cooking oats
For the Chocolate Frosting:
- 1/2 cup 1 stick unsalted butter
- 1/4 cup milk
- 1/4 cup unsweetened cocoa powder
- 3 cups powdered sugar
- 1 teaspoon vanilla extract
Instructions
- Preheat Oven and Prepare Pan: Preheat your oven to 350°F (175°C). Grease a 9×13 inch baking pan or line it with parchment paper, leaving some overhang for easy removal.
- Cream Butter and Sugars: In a large mixing bowl, cream together the room temperature butter, granulated sugar, and brown sugar until light and fluffy. This will take about 2-3 minutes with an electric mixer on medium speed.
- Add Wet Ingredients: Beat in the eggs, one at a time, ensuring each is fully incorporated before adding the next. Stir in the vanilla extract and creamy peanut butter until the mixture is smooth and well combined.
- Combine Dry Ingredients: In a separate bowl, whisk together the all-purpose flour, baking soda, and salt. Gradually add the dry ingredients to the wet mixture, mixing just until combined. Stir in the quick-cooking oats.
- Spread Batter in Pan: Transfer the batter to the prepared baking pan, spreading it out into an even layer. The batter will be thick, so use a spatula or your hands to help spread it evenly.
- Bake: Bake in the preheated oven for 20-25 minutes, or until the edges are lightly golden and a toothpick inserted into the center comes out clean. Do not overbake; the bars should be soft.
- Prepare the Chocolate Frosting: While the bars are baking, prepare the frosting. In a medium saucepan, melt the butter over low heat. Stir in the milk and cocoa powder until smooth. Remove from heat and gradually whisk in the powdered sugar and vanilla extract until smooth and spreadable. If the frosting is too thick, add a little more milk, a teaspoon at a time, until you reach the desired consistency.
- Frost the Bars: Once the cookie bars are done, allow them to cool in the pan for about 10 minutes. Then, spread the chocolate frosting over the warm bars. The warmth from the bars will make it easier to spread the frosting evenly.
- Cool and Serve: Allow the frosted cookie bars to cool completely in the pan on a wire rack. Once cooled, use the overhanging parchment paper to lift the bars out of the pan and cut them into squares or rectangles.